Camera Stand & Mounting Reference
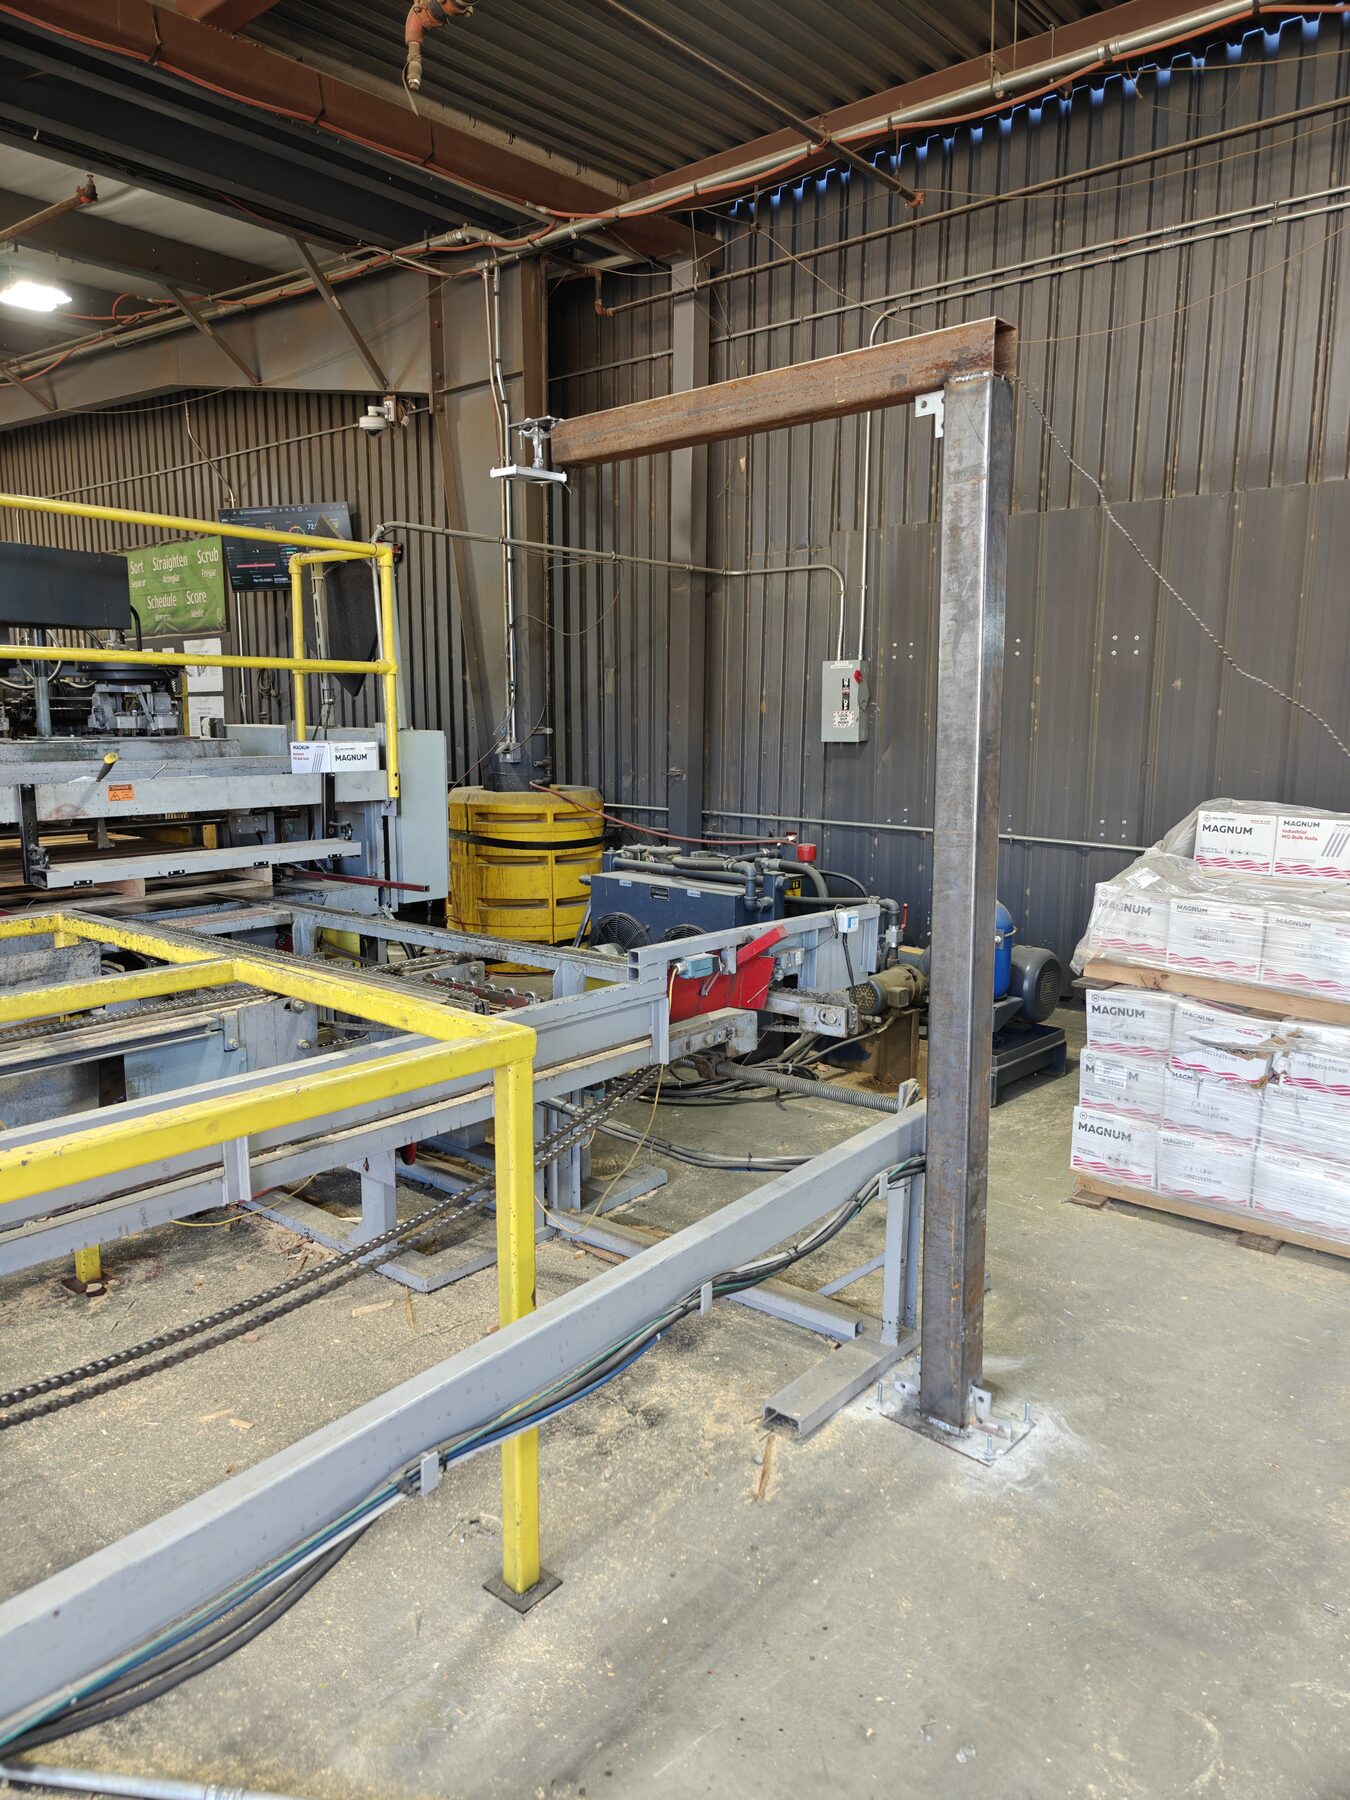
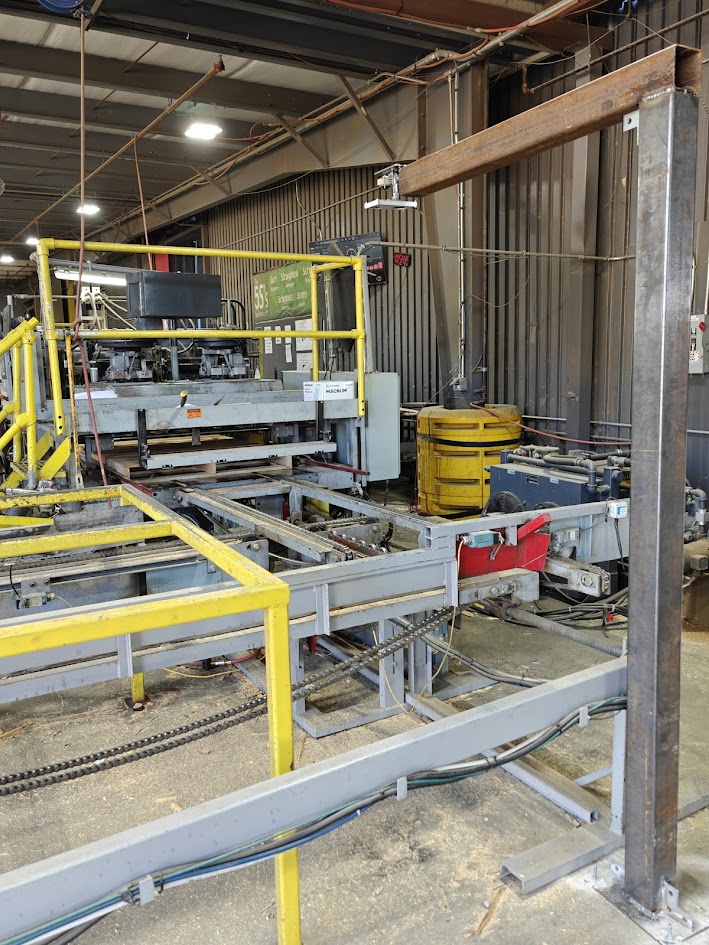
This page covers everything needed to install Zira's AI Vision camera over an outfeed inspection point. Zira ships the AI Camera pre-assembled in a CNC-machined aluminum housing along with an adjustable mounting bracket. The customer fabricates the steel L-Frame portal shown below, anchors it to the floor, and the camera bracket bolts to the portal's top arm with four screws. All dimensions are provided in both imperial (in / ft) and metric (mm) units.
Kit Contents
Everything in this kit is shipped pre-assembled and ready to install. No housing or enclosure work is required on the customer's side — the camera arrives sealed and weatherproof inside a CNC-machined aluminum case.
Pre-Assembled in CNC-Machined Aluminum Housing
The Zira AI Camera is supplied fully assembled and sealed inside a CNC-machined aluminum enclosure, with an integrated articulated arm and base plate. No smartphone, lens, or housing assembly is required on-site. The unit arrives ready to bolt directly to the L-Frame portal (or any wall / pole bracket).
- CNC-machined aluminum housing — outdoor / marine rated
- Integrated 2-axis tilt + pan articulated arm
- Pre-wired and ready for power + data
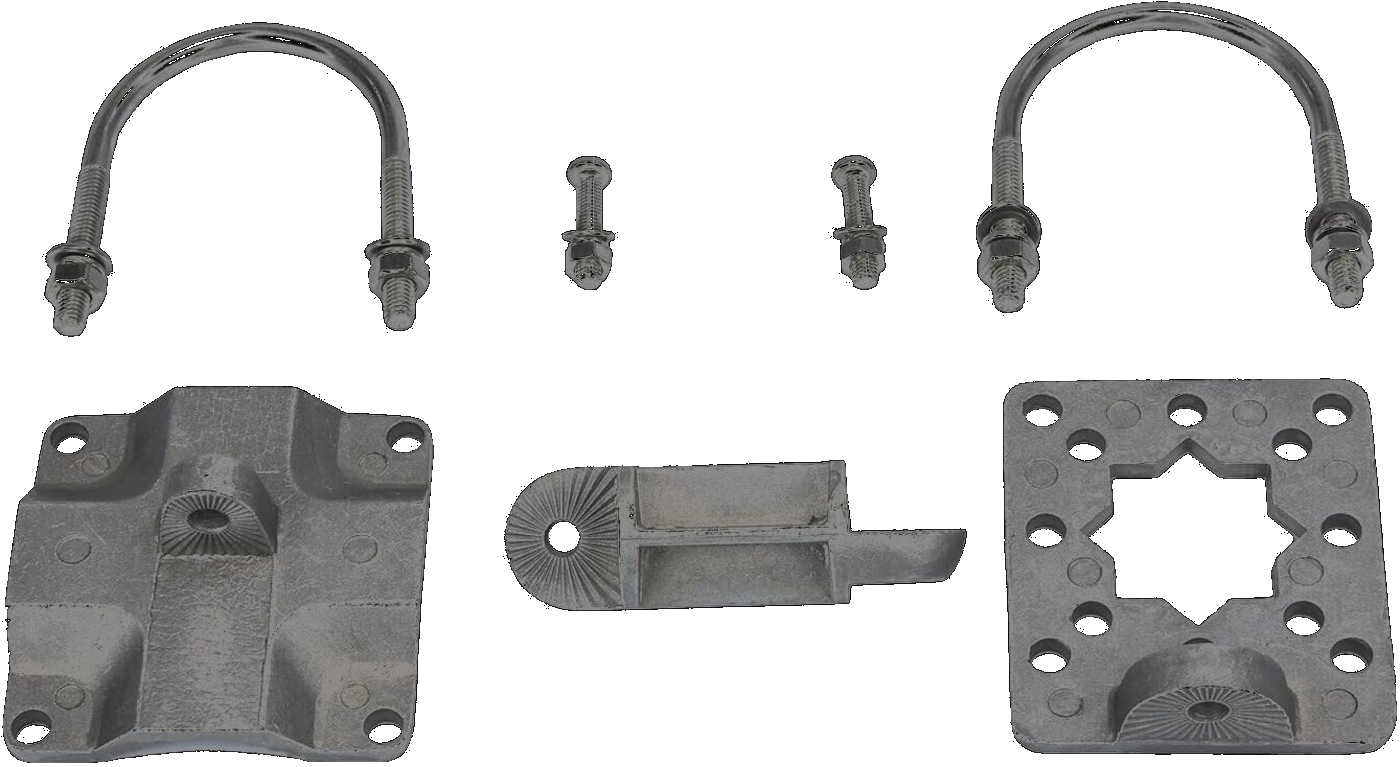 Included
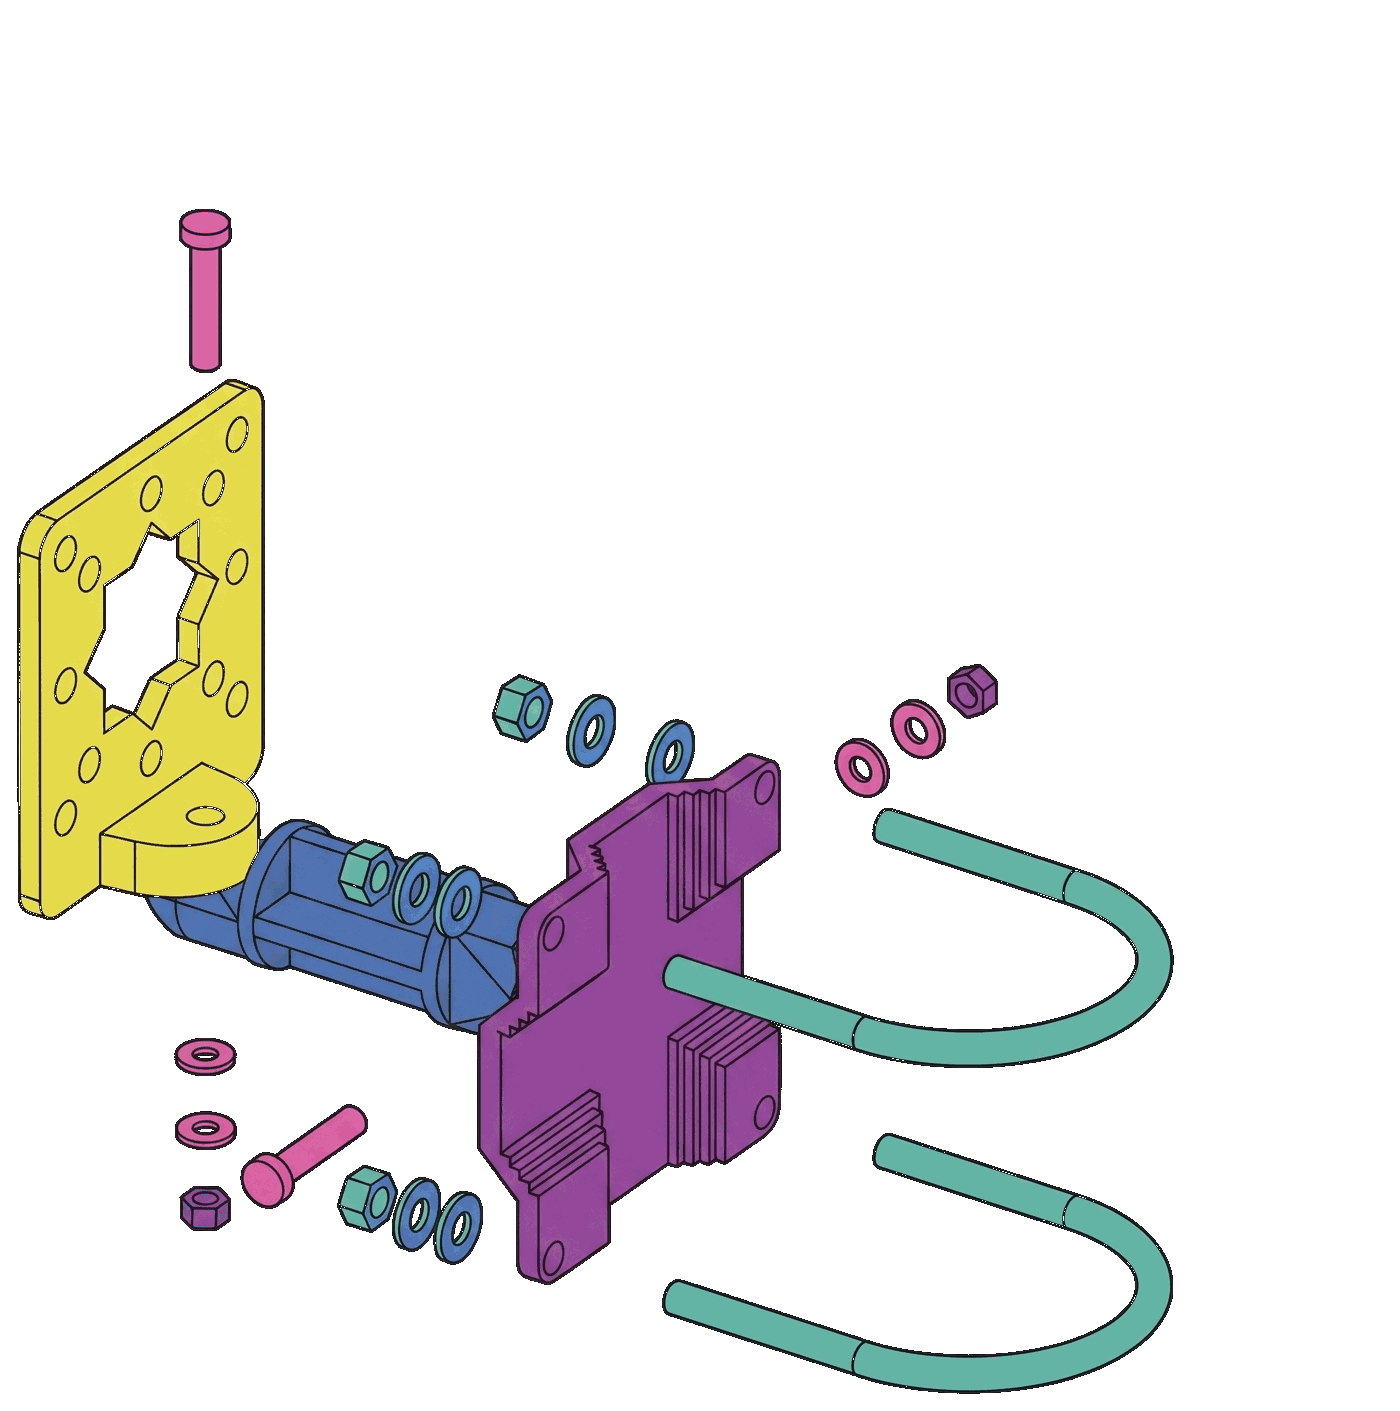
Adjustable Aluminum Mounting Bracket
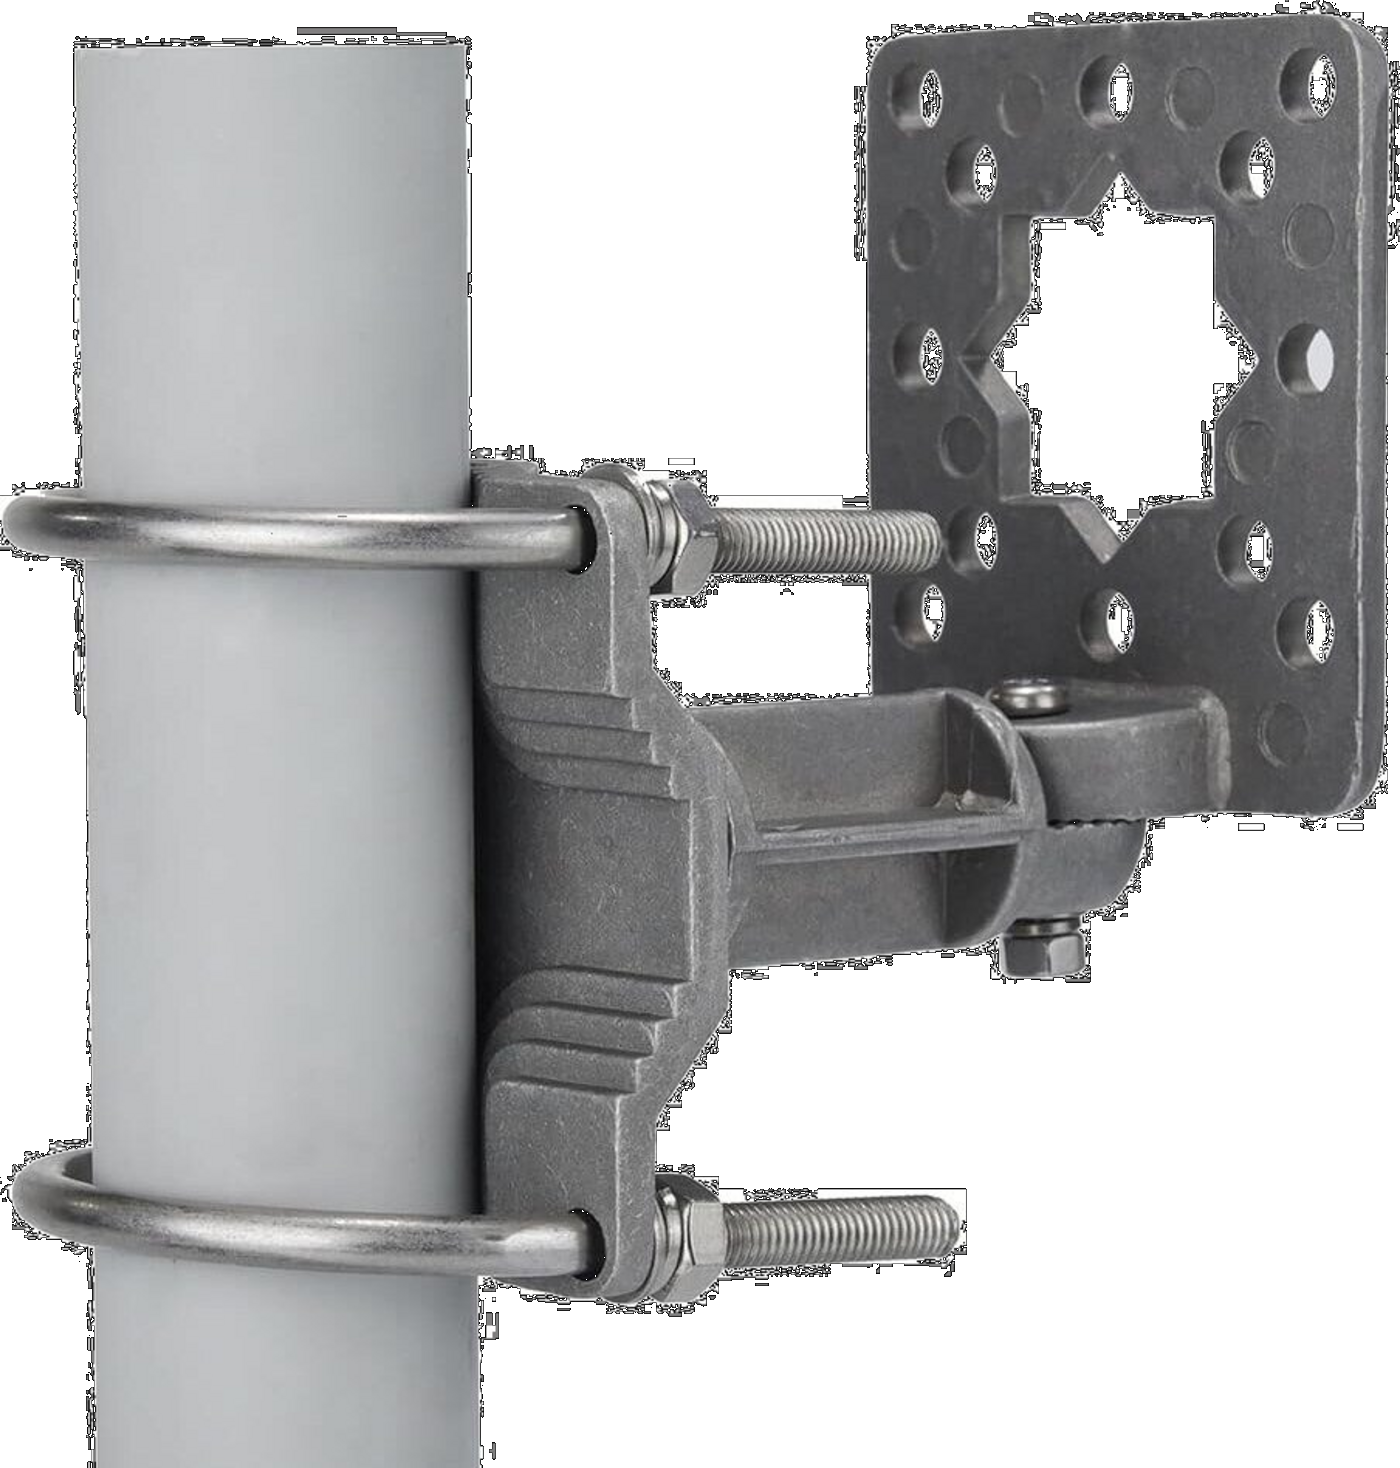
The bracket attaches to the back of the AI Camera housing using four supplied bolts, then anchors to the portal's top arm (or a wall, ceiling, or pole) using four screws — or the supplied U-bolt kit for round poles up to 2″ (51 mm) diameter.
- Tilts & swivels in 2 directions for any field of view
- Locks into position by tightening nuts on arm ends
- Durable aluminum — resists rust & corrosion
- Outdoor and marine-grade construction
How the Camera Attaches
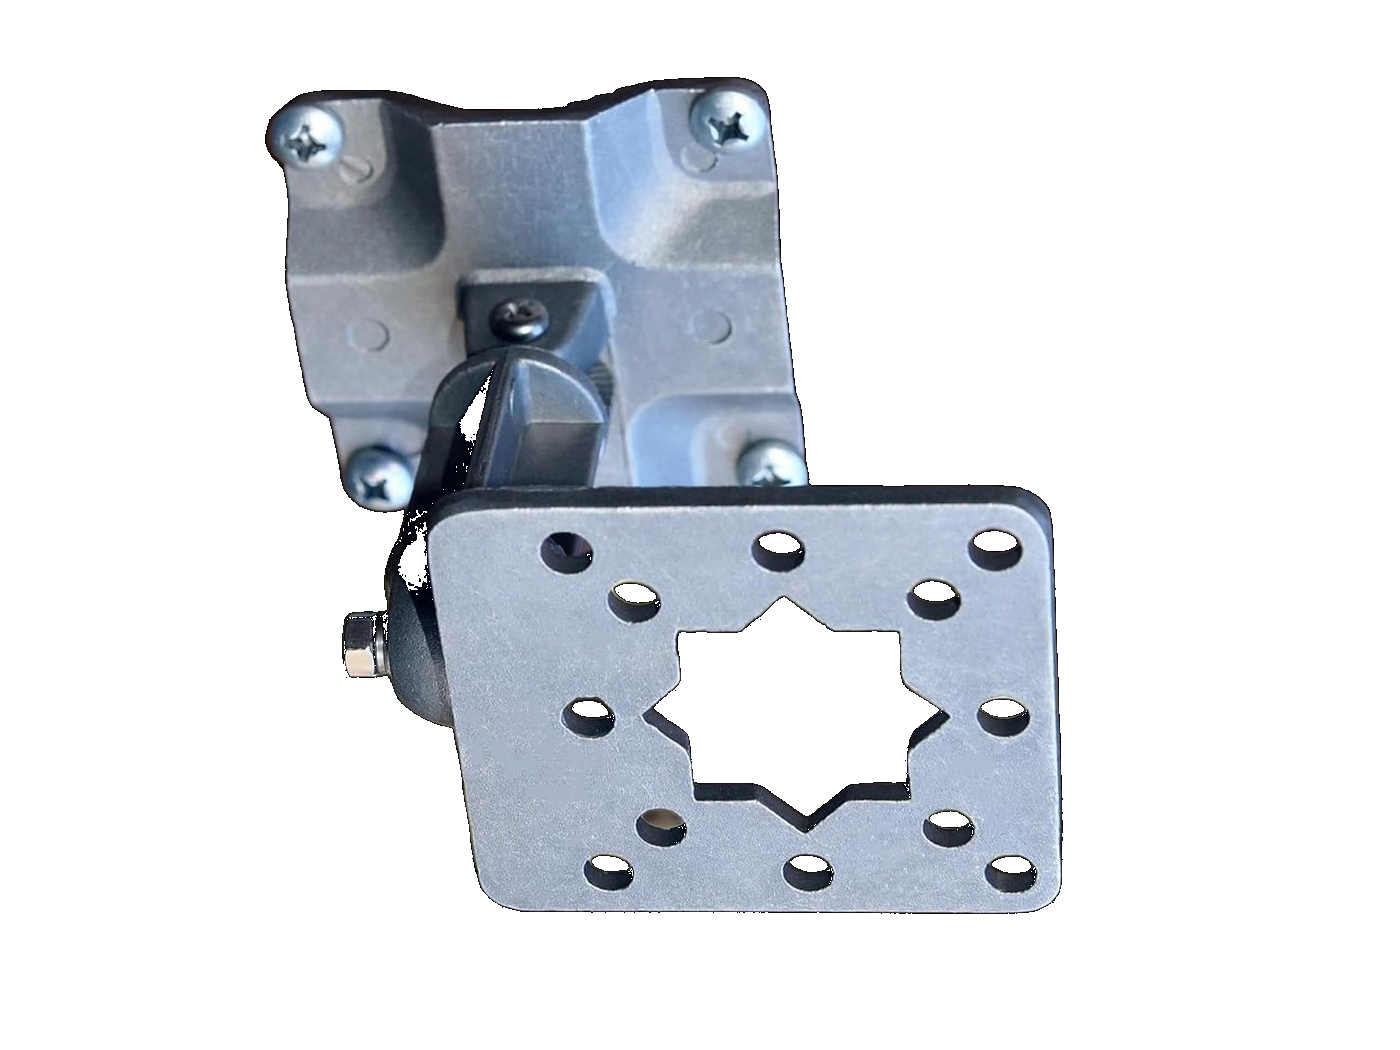
The AI Camera's CNC-machined aluminum case has a factory-machined hole pattern on the back that mates directly with the camera-side plate of the bracket. Four supplied bolts secure the camera to the bracket. The opposite side of the bracket attaches to the portal's top arm with four screws, or to a round pole using the supplied U-bolts.
Three Ways to Mount the Bracket
The same bracket works for all three configurations. For the standard Zira deployment, the bracket screws to the underside of the L-Frame portal's top arm. For retrofit installations, the bracket can attach to an existing wall, ceiling beam, or round vertical pole.
Portal Steel Stand — Side & Front Views
The L-Frame portal is fabricated from mild steel and anchored to the floor with the camera mounting plate welded to the end of the horizontal arm. The bracket then bolts to the underside of this plate. Dimensions below are shown in both imperial and metric.
How High to Mount the Camera
The standard Zira AI Camera has a 60° field of view, which works out to a simple 1:1 rule of thumb: the distance between the camera lens and the surface being inspected should be at least equal to the longest dimension of that surface. Mount higher to add margin or capture context; mount closer to maximize pixel density on small parts.
| Pallet Dimension | Min. Distance |
|---|---|
| 40" / 1016 mm (GMA) | 40" / 1016 mm |
| 42" / 1067 mm | 42" / 1067 mm |
| 48" / 1219 mm | 48" / 1219 mm |
| 50" / 1270 mm | 50" / 1270 mm |
| 60" / 1524 mm | 60" / 1524 mm |
Real-World Installation Photos
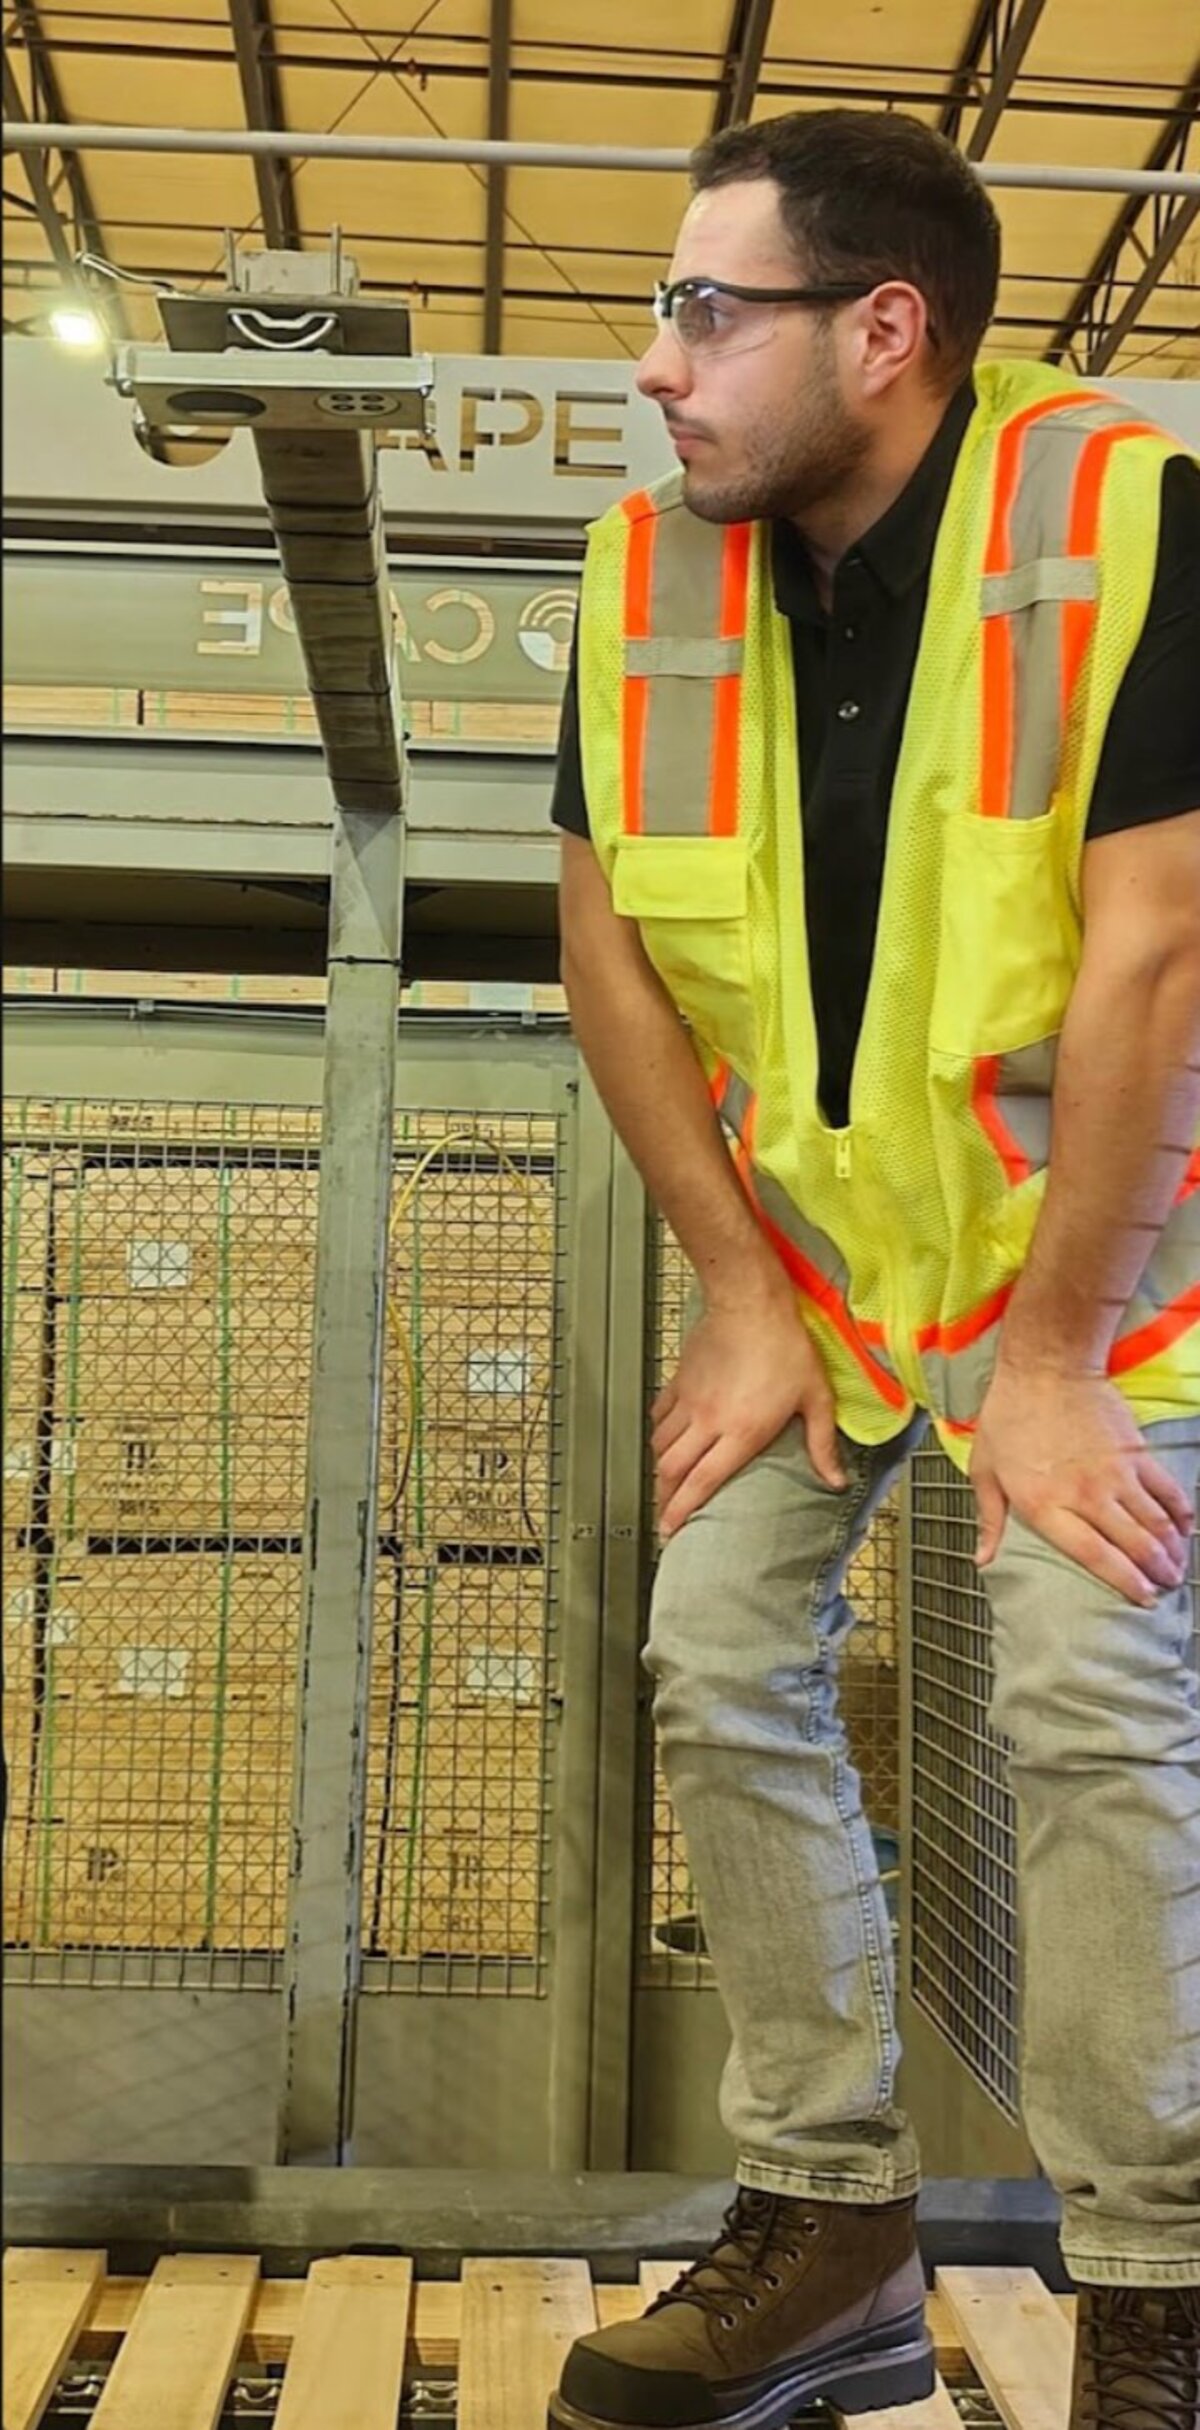
Photos from a deployed Zira camera stand at an outfeed inspection point. Use these as visual reference for what the finished installation looks like before the portal is fabricated and installed on-site.
| Component | Material | Dimensions | System |
|---|---|---|---|
| Vertical Post | Mild steel square tubing | 3" × 3" (76 × 76 mm) — cut to length | Outfeed Quality |
| Horizontal Arm | Mild steel square tubing | 3" × 3" × 43" (76 × 76 × 1092 mm) inner length | Outfeed Quality |
| Base Plate | Mild steel plate | 12" × 8" × ½" (305 × 203 × 12.7 mm) | Outfeed Quality |
| Camera Mounting Plate | Mild steel plate | 6" × 6" × ¼" (152 × 152 × 6.35 mm) | Outfeed Quality |
| Corner Gusset | Mild steel plate | 6" × 6" right triangle × ¼" (152 × 152 × 6.35 mm) | Outfeed Quality |